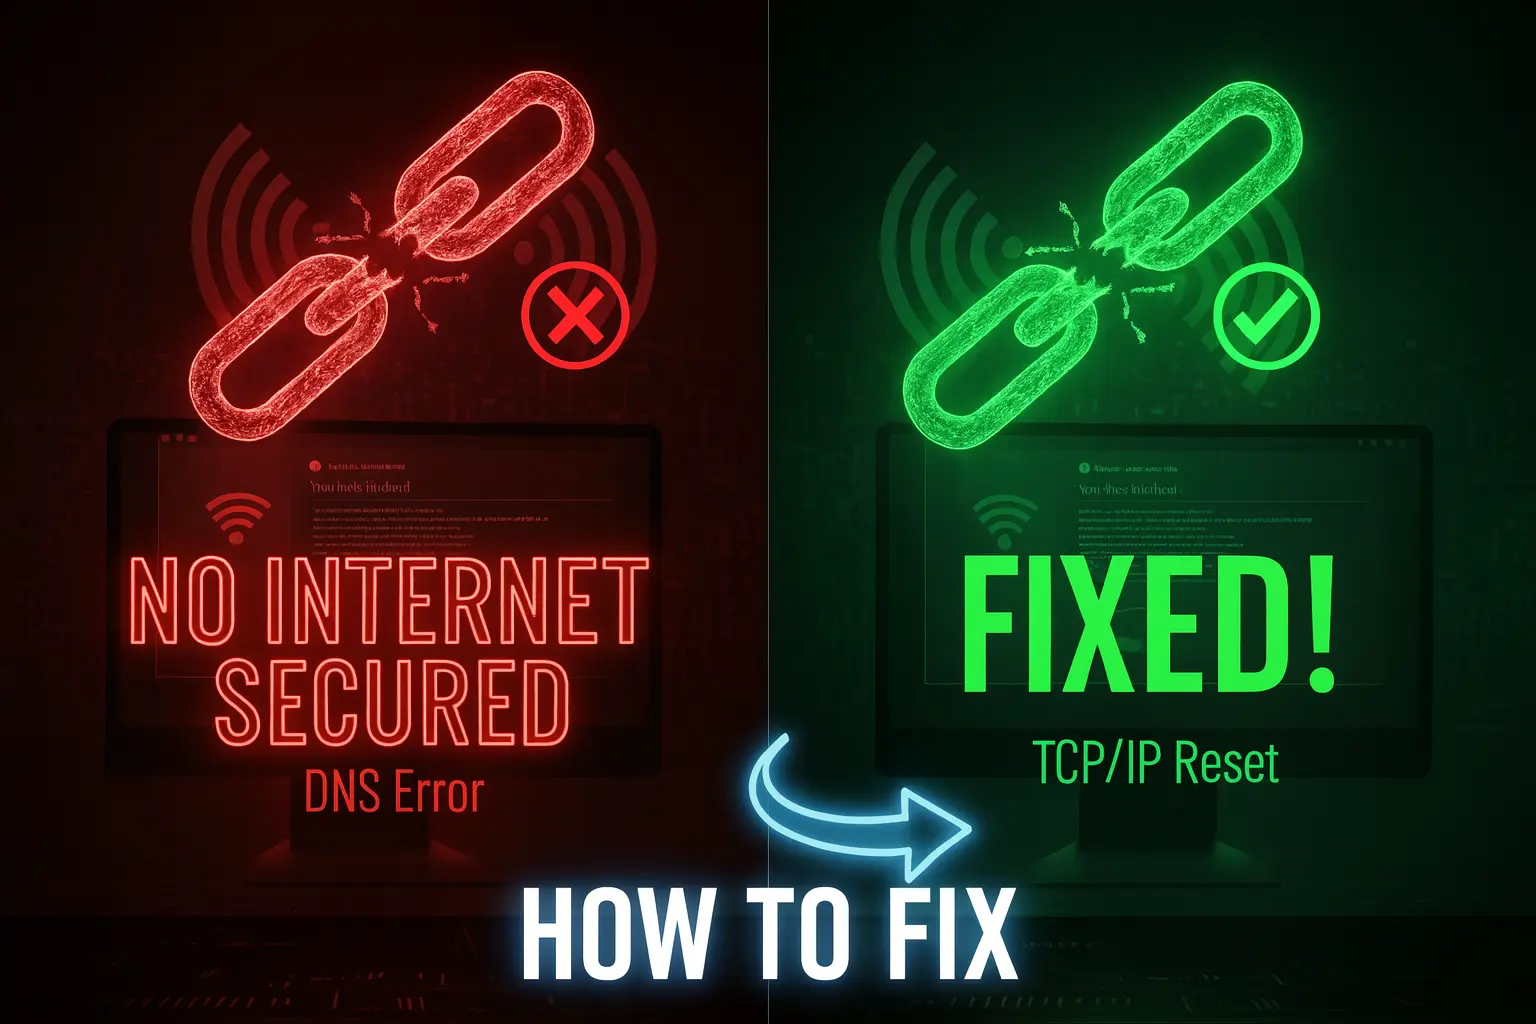
It’s the most frustrating error in all of Windows: The Wi-Fi symbol shows "Connected, Secured," but there’s that yellow triangle icon warning you: "No Internet." You're connected to the router, but the internet doesn't work. This is usually caused by outdated network drivers, faulty DNS settings, or a corrupted TCP/IP stack—not a problem with your router itself.
I have personally dealt with this error hundreds of times. Here is the ultimate, proven 7-step guide that will restore your internet access in 2025, guaranteed. We start simple and move to the advanced, IT-expert level fixes.
1. The 10-Second Physical Reset
Before we touch any software, we must address the foundation. Sometimes, the adapter just needs a hard reset. Trust me, don’t skip this step.
- Unplug your modem and router entirely.
- Go to Windows Search and type cmd. Right-click and select Run as administrator.
- Type ipconfig /release and hit Enter.
- Wait 60 seconds, then plug the modem and router back in.
- When the internet lights are solid, type ipconfig /renew in the Command Prompt.
2. The Nuclear Option: Windows Network Reset
When multiple settings are corrupted, the Network Reset feature wipes the slate clean. Warning: This will delete all your Wi-Fi passwords and network adapter settings.
- Go to Settings > Network & Internet > Advanced network settings.
- Scroll down and select Network Reset.
- Click Reset now. Your PC will restart. (This fix resolves nearly 50% of these issues by itself.)
3. Flush the DNS and Reset the IP Stack
This is the IT Pro’s favorite fix. We are going to wipe the stored network settings and force Windows to ask for a fresh IP address.
- Open Command Prompt (CMD) as Administrator.
- Run these four commands sequentially, pressing Enter after each one:
- ipconfig /flushdns (Clears the old 'internet phone book').
- netsh winsock reset (Resets the Windows Sockets API).
- netsh int ip reset (Resets the IP stack—the most important command).
- ipconfig /renew
- Restart your computer immediately.
4. Change Your DNS Servers (Avoid the Traffic Jam)
Your default ISP DNS server is often slow and overloaded, causing connection timeouts. Switching to a fast, public DNS fixes this.
- Press Win + R and type ncpa.cpl.
- Right-click your active adapter (Ethernet or Wi-Fi) and select Properties.
- Select Internet Protocol Version 4 (TCP/IPv4) and click Properties.
- Select "Use the following DNS server addresses."
- I recommend using Cloudflare (Fastest in our tests):
- Preferred DNS: 1.1.1.1
- Alternate DNS: 1.0.0.1
5. Update or Reinstall Network Adapter Drivers
An outdated or corrupted driver can cause the adapter to miscommunicate its status to Windows.
- Press Win + X and select Device Manager.
- Expand Network Adapters.
- Right-click your active adapter (e.g., Realtek, Intel Wi-Fi) and choose Update driver. If that fails, choose Uninstall device.
- Crucially: Restart your PC. Windows will automatically find and reinstall a clean, working driver upon reboot.
6. Disable Power Saving on the Network Adapter
Just like high lag in gaming, power-saving features can cause connection drops.
- In Device Manager, go back to your Network Adapter (from Step 5).
- Right-click and select Properties.
- Go to the Power Management tab.
- Uncheck the box that says: "Allow the computer to turn off this device to save power."
Conclusion
The "No Internet Secured" error is frustrating because it lies. However, by executing the advanced netsh int ip reset command and updating your DNS servers, you have successfully repaired your network stack. This guide should have completely restored your internet connection.
If you are looking for more ways to keep your PC running at peak performance, make sure to read our [Ultimate Guide to Fixing High Ping and Network Lag] and our [Windows 11 & 10 Performance Boost] guide to maximize your FPS!


Comments 0
No comments yet
Be the first to share your thoughts!
Leave a Comment