
.webp)
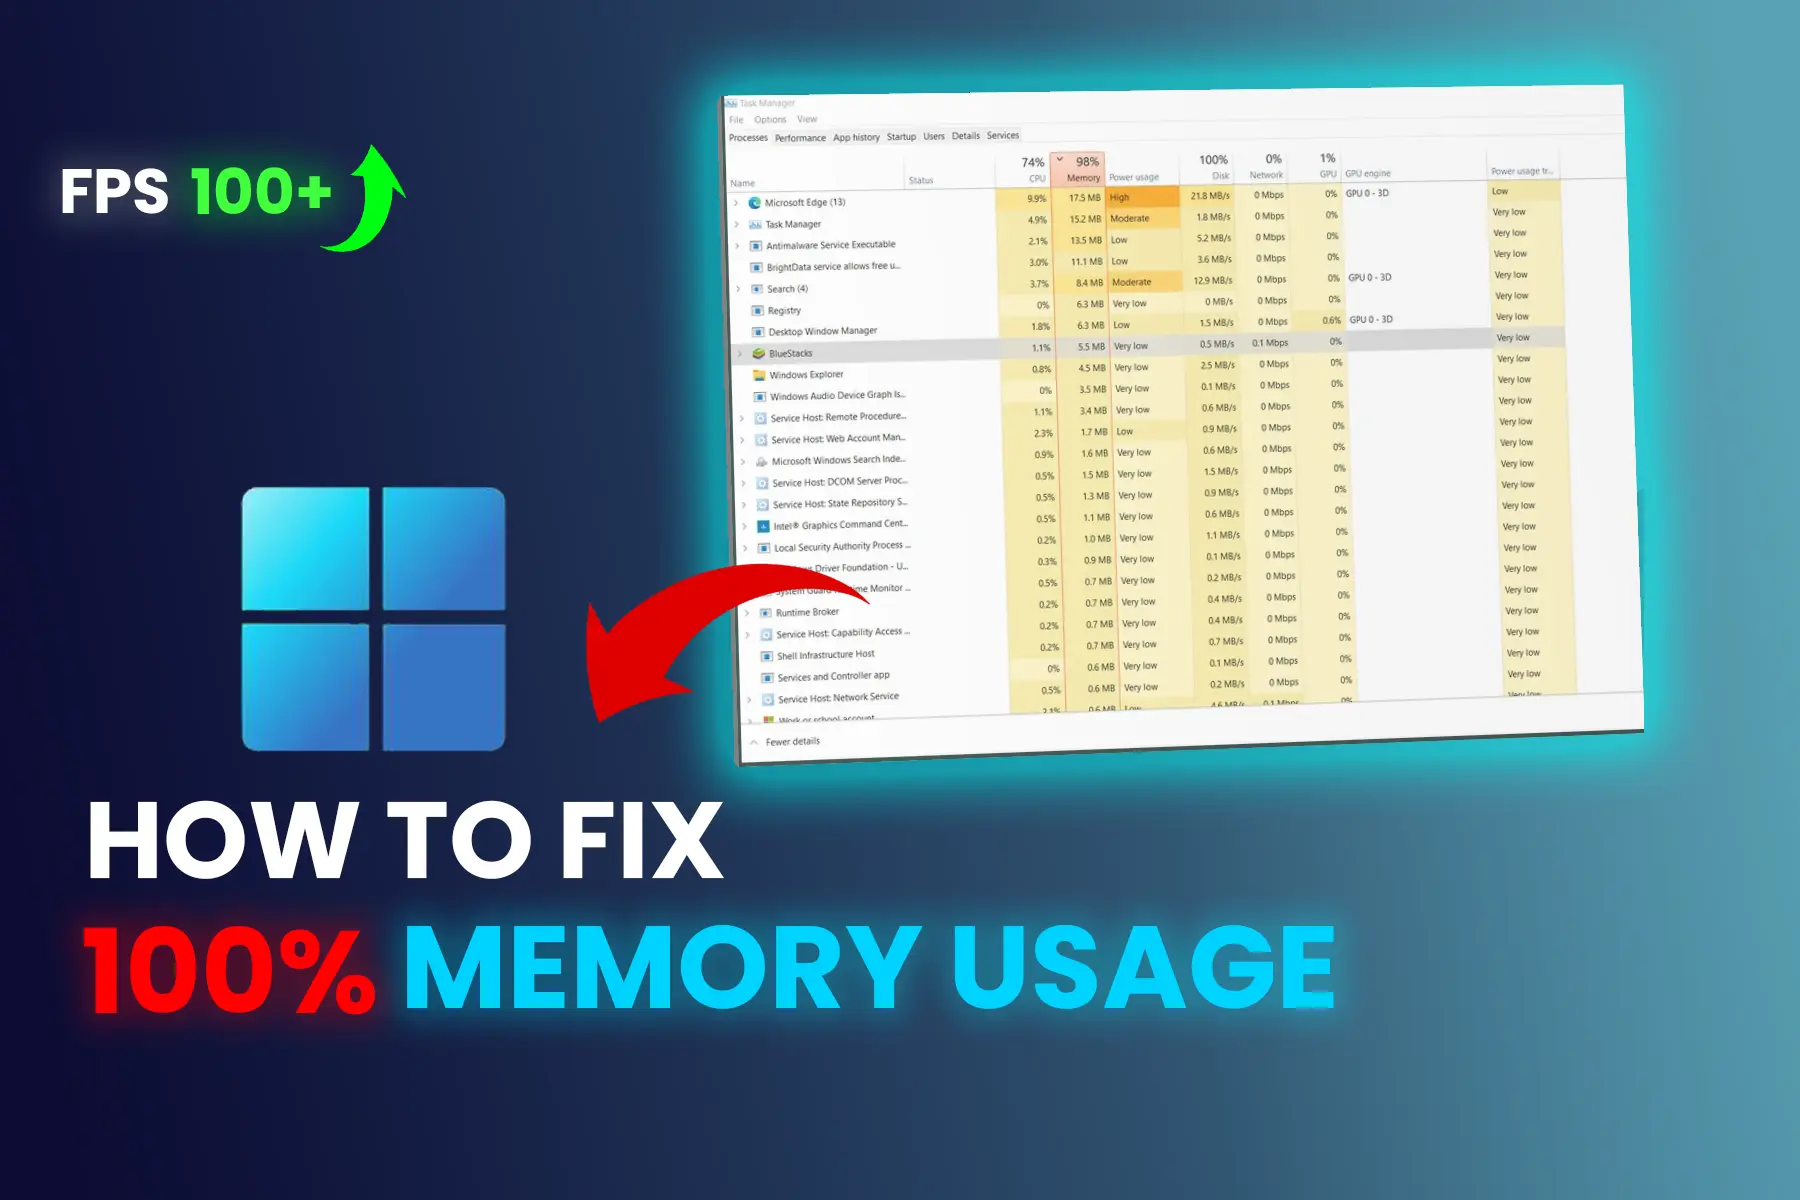
Is your Windows 11 PC showing 100% RAM usage in Task Manager? High memory usage can make your computer feel slow, cause apps to freeze, and lead to performance problems.
High RAM usage does not always mean something is wrong. Windows can use available memory for applications, background processes, and caching. The important thing is whether memory usage stays near 100% and causes noticeable slowdowns, freezing, or application crashes.
In this guide, we will show you how to identify what is using your RAM and what you can do to reduce excessive memory usage in Windows 11.
1. Identify What Is Using Your RAM
Before changing Windows settings, find out which process is actually using your memory.
- Press Ctrl + Shift + Esc to open Task Manager.
- Click the Processes tab.
- Click the Memory column to sort applications by RAM usage.
- Check which apps or processes are using the most memory.
- If you see an application you recognize and do not need, close it and check whether memory usage decreases.
Do not end Windows system processes unless you know what they do. If a specific application repeatedly consumes an unusually large amount of RAM, check whether it has an available update or reinstall it if necessary.
If you're dealing with generally high RAM usage rather than a constant 100% memory reading in Task Manager, our guide to [high RAM usage in Windows 11 and Windows 10] covers the broader causes and fixes.
2. Disable Unnecessary Startup Apps
Some applications automatically start when you sign in to Windows. These apps can continue running in the background and use system resources.
To disable unnecessary startup apps:
- Press Ctrl + Shift + Esc to open Task Manager.
- Select Startup apps.
- Review the applications listed there.
- Right-click an app you do not need at startup.
- Select Disable.
Avoid disabling security software, hardware utilities, or applications that you need to start automatically.
3. Reduce Unnecessary Background Activity
Some applications can continue running in the background even when you are not actively using them.
To review background activity in Windows 11:
- Open Settings.
- Go to System > Power & battery.
- Select Battery usage.
- Find an application that is using unnecessary background activity.
- If the app provides the option, select Manage background activity.
- Choose a suitable background activity setting.
You can also uninstall applications you no longer use. Removing unnecessary software can reduce background activity and free system resources.
4. Check Whether SysMain Is Causing a Problem
SysMain, previously known as Superfetch, is a Windows service designed to help improve system performance.
You should not disable SysMain simply because your RAM usage is high. However, if Task Manager shows unusual resource usage associated with SysMain, you can temporarily stop the service to test whether it is related to the problem.
To test SysMain:
- Press Windows + R.
- Type services.msc and press Enter.
- Find SysMain in the list.
- Right-click SysMain and select Stop.
- Monitor your system for a while.
If stopping SysMain does not improve the problem, you can start the service again.
For most users, there is no need to permanently disable SysMain.
5. Check Virtual Memory and Page File Settings
Windows uses virtual memory to extend memory management through a page file stored on your drive.
If your PC is experiencing memory pressure, check whether Windows is managing the page file automatically.
To check the setting:
- Press Windows + R.
- Type sysdm.cpl and press Enter.
- Open the Advanced tab.
- Under Performance, click Settings.
- Open the Advanced tab.
- Under Virtual memory, click Change.
- Make sure Automatically manage paging file size for all drives is enabled.
For most users, allowing Windows to manage the page file automatically is the safest option.
Do not manually choose a fixed page file size unless you have a specific reason to do so.
6. Check for Driver-Related Memory Leaks
If no normal application appears to be responsible for extremely high RAM usage, a driver or system component could be leaking memory.
A memory leak occurs when memory that is no longer needed is not properly released. Over time, this can cause memory usage to keep increasing.
To investigate:
- Open Task Manager.
- Check the Performance > Memory section.
- Look for unusually high memory usage that does not match the applications you are running.
- Pay attention to whether memory usage continues increasing over time.
- Update your network, graphics, chipset, and other important device drivers.
If the problem started after a driver update, consider rolling back the affected driver.
7. Check for NDU-Related Memory Leaks (Advanced)
In some Windows configurations, a network-related driver conflict can contribute to unusually high non-paged pool memory usage.
This is an advanced troubleshooting step and should not be used as a general fix for every Windows 11 RAM problem.
Before modifying the Windows Registry, create a restore point or back up the Registry.
Only try this advanced troubleshooting step if you have already ruled out normal apps, startup programs, and driver issues.
If Task Manager shows unusually high non-paged pool memory and you suspect a network driver-related issue:
- Press Windows + R.
- Type regedit and press Enter.
- Navigate to:
HKEY_LOCAL_MACHINE\SYSTEM\CurrentControlSet\Services\Ndu
- Back up the Registry before making changes.
- Only change the NDU service configuration if you have confirmed that it is related to the memory problem.
- Restart Windows and check whether memory usage improves.
If you are not comfortable editing the Registry, skip this step and update your network adapter drivers or seek technical assistance.
8. Restart Your Windows 11 PC
A simple restart can clear temporary memory usage and reset processes that may have become stuck.
If your PC has been running for a long time, restart Windows and then check Task Manager again.
If RAM usage quickly returns to an unusually high level after restarting, continue investigating the applications, services, or drivers responsible.
9. Scan Windows for Malware
Malware can run unwanted processes in the background and consume system resources.
Use Windows Security to scan your computer:
- Open Windows Security.
- Select Virus & threat protection.
- Select Scan options.
- Run a Full scan if you suspect unwanted software.
If a suspicious process is consuming a large amount of memory, do not simply end the process without first determining what it belongs to.
10. Update Windows and Your Drivers
Outdated Windows components and device drivers can sometimes contribute to performance problems.
Check for Windows updates:
- Open Settings.
- Go to Windows Update.
- Select Check for updates.
- Install available updates.
- Restart your PC if required.
Also check for updated drivers from your PC or hardware manufacturer's official website, especially for graphics, network, and chipset devices.
11. Check for Hardware or Memory Problems
If Windows continues to show extremely high RAM usage even after you close applications and restart your PC, consider checking the physical memory.
Windows includes a built-in memory diagnostic tool.
To run it:
- Press Windows + R.
- Type mdsched.exe.
- Press Enter.
- Choose Restart now and check for problems.
Save your work before restarting because Windows will reboot your computer to perform the memory test.
If the diagnostic reports memory errors, the RAM module or another hardware component may need further testing or replacement.
12. When Should You Upgrade Your RAM?
If you regularly reach very high memory usage while running the applications you actually need, the problem may simply be that your PC does not have enough RAM for your workload.
For example, you may notice high memory usage when:
- Running many browser tabs
- Editing photos or videos
- Running virtual machines
- Playing modern games
- Using development tools
- Running several large applications at the same time
Before buying more RAM, check Task Manager to confirm that memory pressure is actually limiting your system.
How to Fix 100% RAM Usage While Gaming
If Windows 11 reaches 100% RAM usage while gaming, try these steps:
- Close unnecessary browser tabs and applications.
- Disable unnecessary startup applications.
- Stop unused background applications.
- Check whether the game has a memory leak.
- Update the game and graphics drivers.
- Restart the PC before launching the game.
- Check whether your system meets the game's RAM requirements.
- Consider upgrading your RAM if you regularly run out of memory.
Do not use random RAM-cleaner applications to force Windows to free memory. First identify which application or process is consuming the memory.
Quick Fix Summary
| Problem | What to Try |
|---|---|
| One app uses too much RAM | Close, update, or reinstall the app |
| Too many apps start with Windows | Disable unnecessary Startup apps |
| Background apps consume resources | Limit unnecessary background activity |
| SysMain appears unusually active | Temporarily stop it and test |
| Memory pressure or page file issue | Let Windows manage the page file |
| Non-paged pool keeps growing | Check drivers and possible memory leaks |
| Possible malware | Run a Windows Security scan |
| RAM problems continue | Run Windows Memory Diagnostic |
| PC regularly runs out of RAM | Consider a RAM upgrade |
Conclusion
100% RAM usage in Windows 11 is not automatically a sign that your computer is broken. Windows and applications can use available memory for normal operations, but consistently high memory usage combined with slowdowns, freezing, or crashes should be investigated.
Start by using Task Manager to identify which application or process is consuming your memory. Then disable unnecessary startup apps, reduce unwanted background activity, update Windows and drivers, and check for possible memory leaks.
If your PC regularly reaches its memory limit during normal workloads, adding more RAM may be the most effective long-term solution.
.webp)
Comments 0
No comments yet
Be the first to share your thoughts!
Leave a Comment