
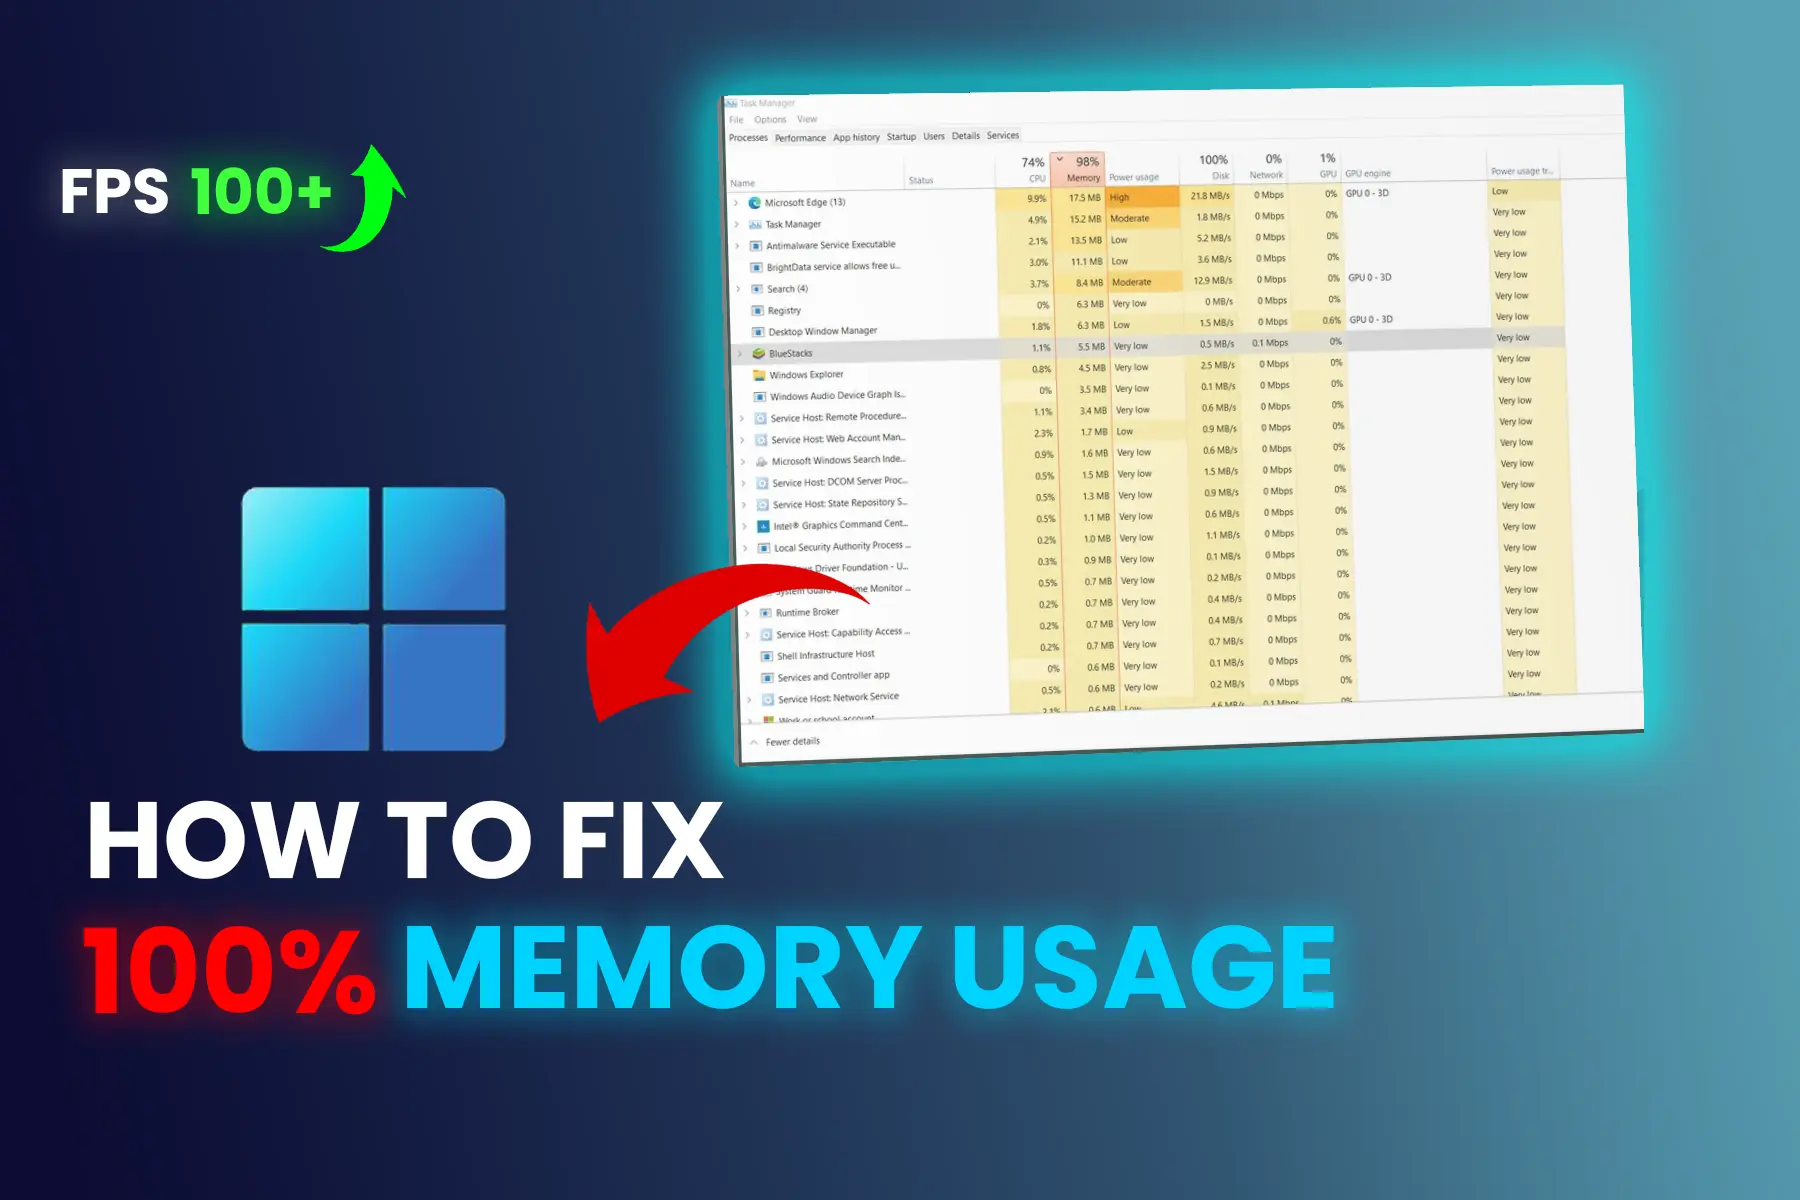
Is your Windows 11 PC lagging? Does it take too long to start or feel slow during gaming? In 2026, Windows 11 has many background features that eat up your RAM and CPU power.
In this guide, we will show you how to optimize your PC like a pro—from cleaning system junk to advanced BIOS tweaks.
1. The Pro "Magic Command" (Debloat Windows)
The fastest way to speed up Windows 11 is to remove "Bloatware" (pre-installed apps you don't use). We use a specialized script for this.
Step 01: Create a System Restore Point (Very Important!) Before making changes, create a backup so you can go back if needed.
Search for "Create a restore point" in the Start menu and open it.
Click the Create button, give it a name (e.g., "Before Optimization"), and click OK.
Step 02: Run the Command
Right-click the Start button and select Terminal (Admin) or PowerShell (Admin).
Copy and paste this command and press Enter:
iwr -useb https://christitus.com/win | iexA new window will pop up. Go to the Tweaks tab.
Select Desktop (or Laptop) and click Run Tweaks.
This will stop background tracking and save your RAM.
2. Enable "Ultimate Performance" Mode
Windows hides its fastest power plan. This mode eliminates small lags by giving full power to your hardware.
Open Terminal (Admin).
Type this command and press Enter:
powercfg -duplicatescheme e9a42b02-d5df-448d-aa00-03f14749eb61Now go to Control Panel > Power Options and select Ultimate Performance.
3. Advanced Graphics & UI Settings
Your Graphics Card (GPU) should handle more work to keep the system smooth.
Graphics Settings:
Go to Settings > System > Display > Graphics.
Click Change default graphics settings.
Turn ON "Hardware-accelerated GPU scheduling".
Registry Tweak for Instant Menus:
Press Windows Key + R, type
regedit, and press Enter.Go to:
HKEY_CURRENT_USER\Control Panel\Desktop.Find MenuShowDelay. Change the value from 400 to 10. This makes menus open instantly.
4. Deep BIOS Tweaks (Unlock Hardware Power)
To get 100% speed, you must check your hardware settings in the BIOS.
Enable XMP/DOCP: By default, your RAM might be running slower than its actual speed. Enabling the XMP Profile in BIOS makes your RAM run at its maximum speed.
Enable Re-Size BAR: If you have a modern GPU, enabling Resizable BAR in BIOS will give you a 5-10% boost in gaming performance.
5. Set Manual Virtual Memory (VRAM)
If Windows constantly changes the size of your "Page File," it causes stuttering. Setting it manually makes the system stable.
Search for "Adjust the appearance and performance of Windows" and open it.
Go to the Advanced tab > click Change under Virtual Memory.
Uncheck "Automatically manage".
Select Custom Size and set both Initial and Maximum size to 1.5x your actual RAM size (in MB).
Conclusion
By following these steps, you have removed the limits set by Windows 11. Your PC should now start faster, feel snappier, and perform better in heavy tasks. Always remember to keep your drivers updated for the best experience in 2026!
-Fix-Errors-&-Lag-(1).webp)
.webp)
Comments 0
No comments yet
Be the first to share your thoughts!
Leave a Comment