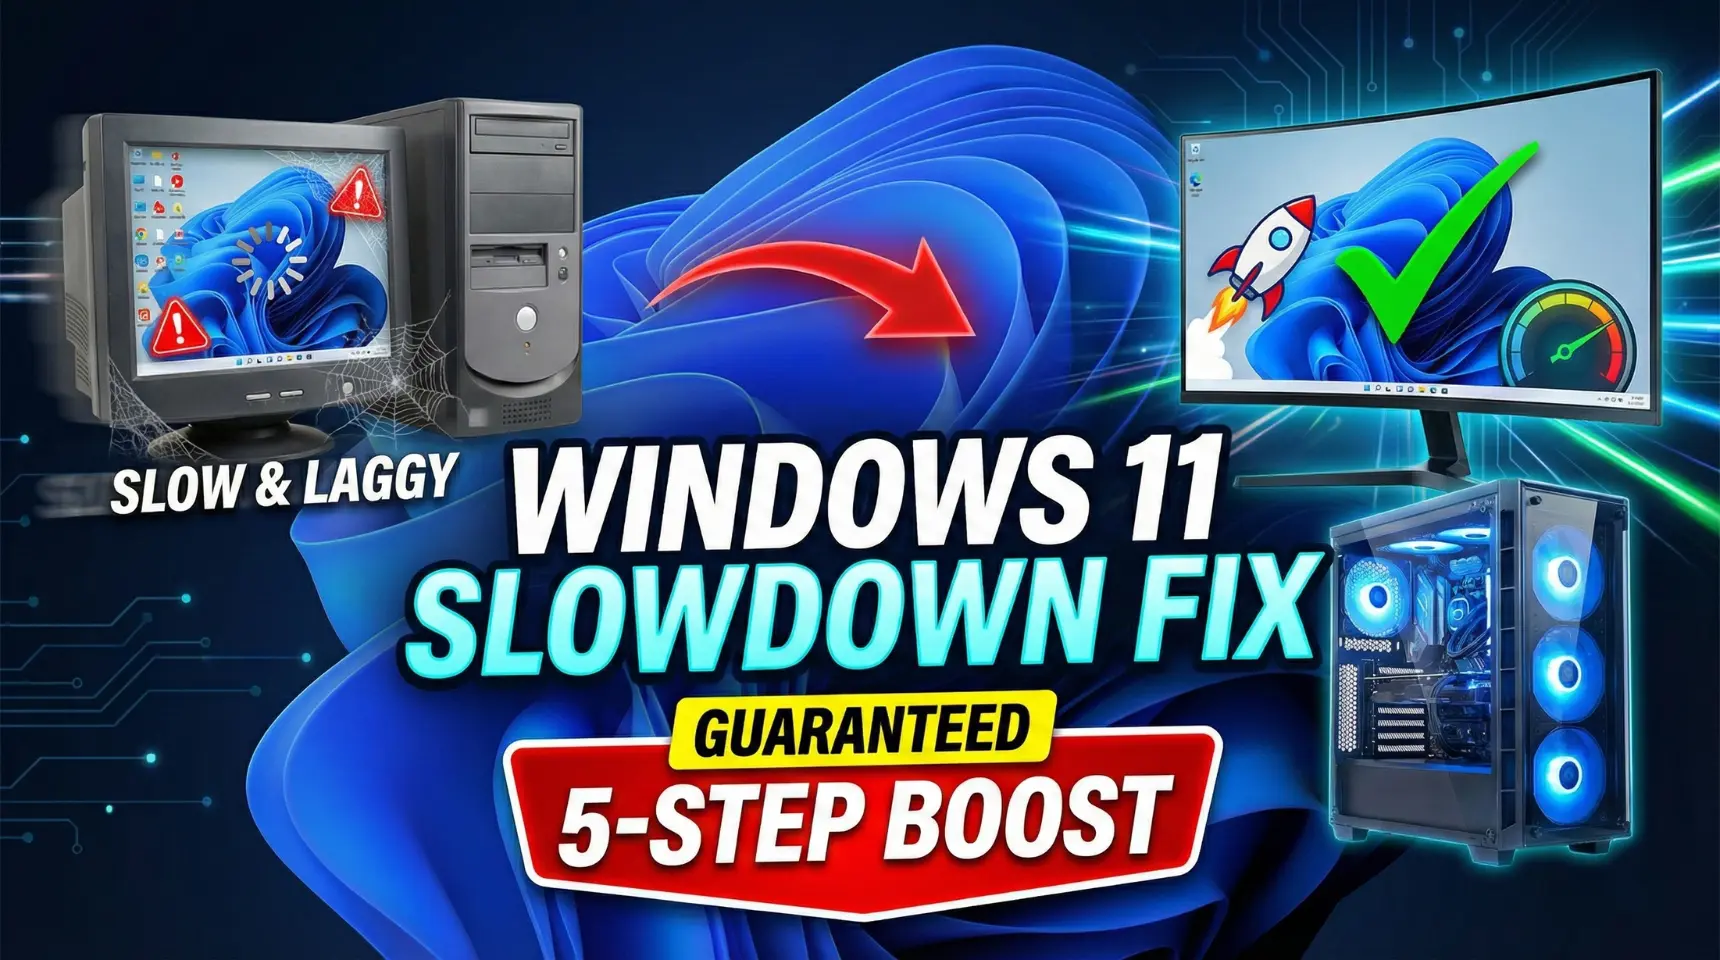
It is one of the biggest frustrations for PC users: you've updated your PC, only to find your system starting slower, games stuttering, or RAM usage constantly sitting too high. If your system is feeling Windows 11 slower than Windows 10 or you are facing severe Windows 11 lagging after update 24H2, you are not alone. This issue is often caused by system file corruption, driver conflicts, or overly aggressive security features.
This guide provides the Ultimate 5-Step Fix—a comprehensive solution combining essential maintenance and advanced memory tweaks that are guaranteed to bring your PC speed back, eliminating common Windows 11 lag problems and fixing FPS drop in Windows 11.
🛑 Step 1: Repair Corrupt System Files (SFC & DISM Commands)
The primary reason for Windows 11 lag after update is often system file corruption. We use two powerful built-in Windows tools to repair and restore these files.
Open Command Prompt as Administrator: Search for "CMD" in the Start Menu, right-click, and select "Run as administrator."
Run DISM: Type the following command and press Enter:
DISM /Online /Cleanup-Image /Restorehealth(Wait for this to complete. It may take several minutes).
Run SFC: Once DISM is done, type the following command and press Enter:
sfc /scannow(Wait for the scan to reach 100%).
Restart your PC.
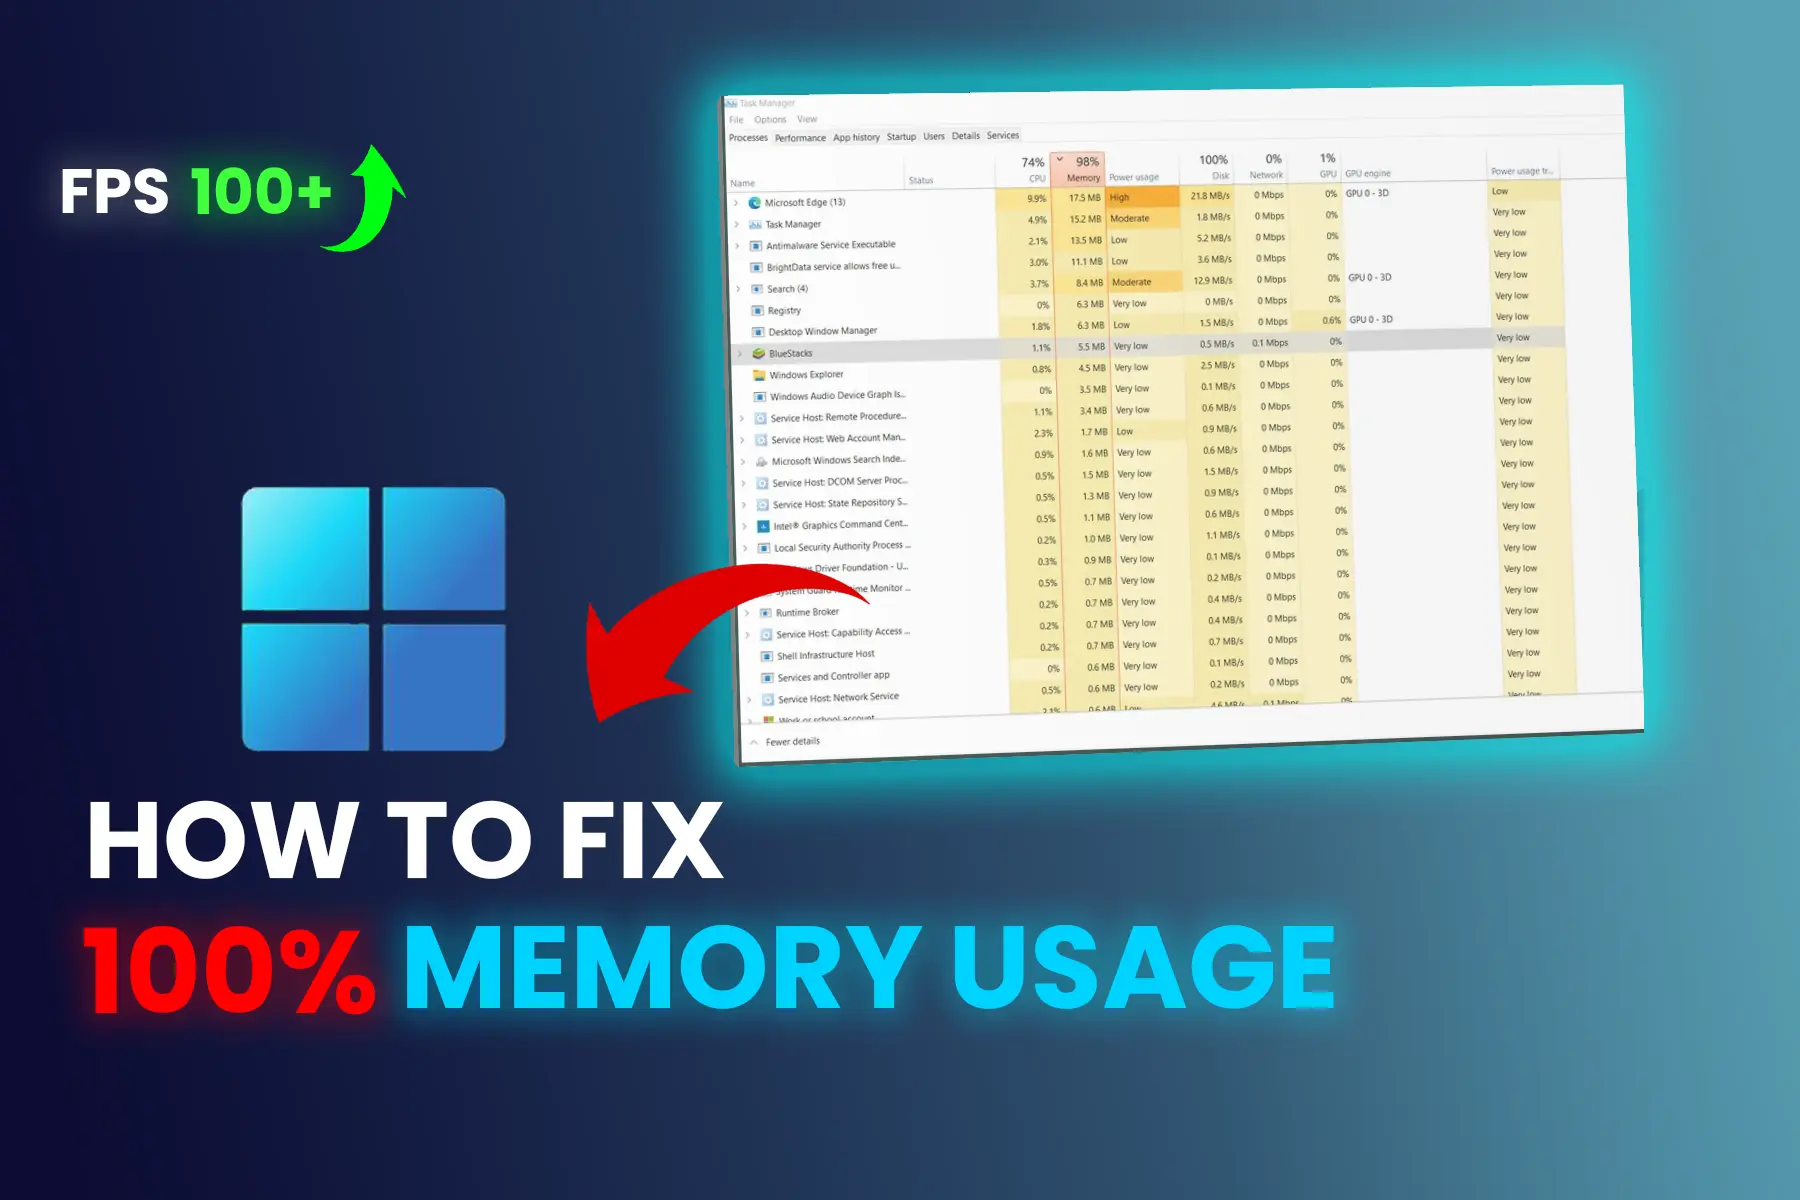
⚙️ Step 2: Stop Memory Leaks and Disable Startup Programs
Unnecessary programs running when you log in are the leading cause of a laggy PC and high RAM usage.
Stop Background Tasks: Press Ctrl + Shift + Esc to open the Task Manager. Go to the Processes tab and look for programs using high CPU or Memory that you are not actively using. End Task on any non-essential process.
Disable Startup Apps: Go to the Startup apps tab and Disable any third-party programs (e.g., launchers, cloud storage) that don't absolutely need to run when Windows starts.
Turn Off Background Activity: Go to Settings > Apps > Installed apps. For non-essential apps, click the three dots, go to Advanced options, and set "Background app permissions" to "Never".
⚡ Step 3: Advanced Fix for Gamers (Disabling VBS / Memory Integrity)
Security features like VBS (Virtualization-Based Security) often run in the background, creating overhead that causes FPS drop in Windows 11 and visible stuttering, especially for gamers.
Disable Memory Integrity:
Go to Windows Security > Device security > Core isolation details.
Toggle "Memory Integrity" OFF.
Disable Virtual Machine Platform (VMP):
Go to Settings > System > Optional features > More Windows features.
Uncheck "Virtual Machine Platform" (VMP).
Restart your PC.
🖱️ Step 4: Fix Laggy Mouse and Input Lag
If you are facing the annoying Windows 11 lagging mouse issue, it is often related to input lag or visual effects overhead.
Update Device Drivers: The most common fix for lag is updating your Chipset, Graphics (NVIDIA/AMD), and Mouse/Keyboard drivers to the latest version.
Turn Off Animation Effects: Go to Settings > Accessibility > Visual effects and Toggle Off both "Animation effects" and "Transparency effects." This immediately frees up RAM and fixes the Windows 11 laggy animations issue.
Set Power Plan to High Performance: Go to Settings > System > Power & battery. In the Power mode dropdown, select "Best performance".
🗑️ Step 5: Clean Up and Optimize
The final steps focus on essential maintenance to ensure your system stays optimized.
Free up Disk Space: Search for "Disk Cleanup" and run the utility. Delete temporary files, cache files, and system files.
Run Antivirus Scan: Go to Windows Security > Virus & Threat Protection and run a quick scan. Malware can often be a hidden cause of high resource usage.
Use RamMap (Advanced): For users who want complete control, download the Microsoft utility RamMap, run it, and click Empty > Empty Standby List to manually clear your RAM cache.

-Fix-Errors-&-Lag-(1).webp)
.webp)
Comments 0
No comments yet
Be the first to share your thoughts!
Leave a Comment